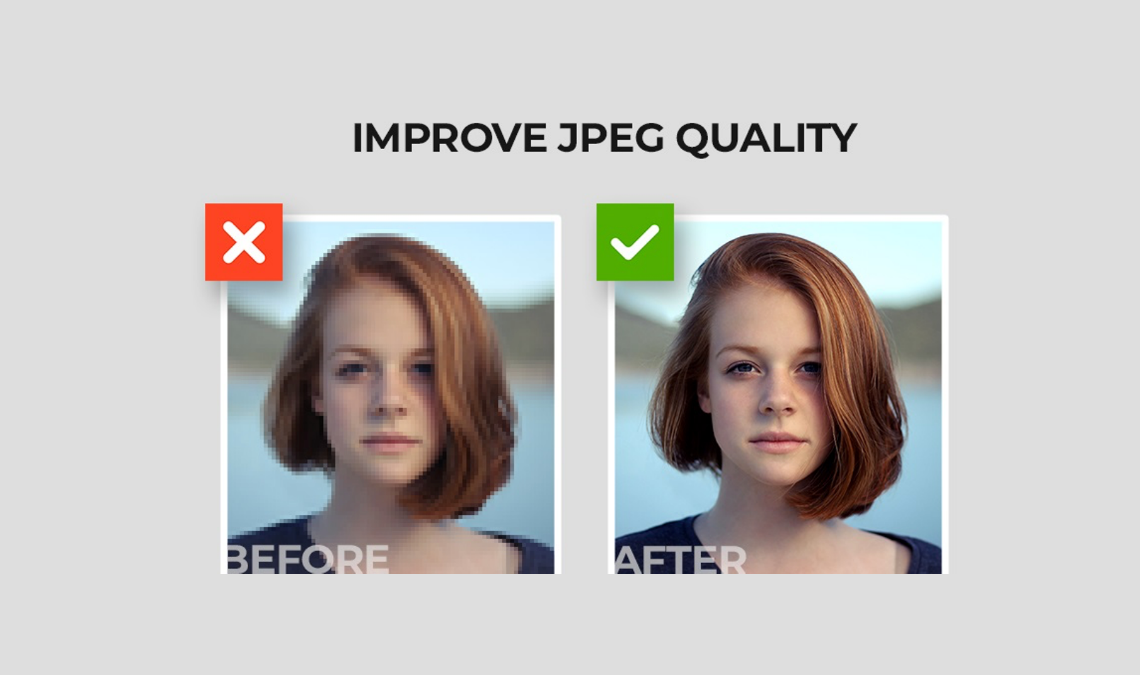
JPEG is a widely used image file format, mainly known for its file size and image quality. While this image format is the best choice for sharing and storing images due to its efficiency, there are chances when you encounter JPEG compression issues on your device. There are several reasons, like incomplete downloads or transfers, malware or virus attacks, hardware and software issues, file format conversion, etc., why your image quality gets reduced or distorted.
Luckily, there are several JPEG repair methods that you must learn to know how to improve JPEG image quality. In this article, we will elaborate 5 best ways to improve image quality, allowing you to restore your original image files.
Common Causes for Distorted JEG Image Quality
JPEG (Joint Photographic Experts Group) files, like any other file format, become corrupted due to damaged or altered file structure, visual distortions or any other reason. There are several reasons why JPEG image files are usually corrupted. Some of them are:
- Incomplete Downloads or Transfers: If your JPEG image files are not properly downloaded or transferred between devices, they can get corrupted.
- Malware or Virus Infections: Malicious software, like malware or viruses, can infect and damage JPEG images on your computer by changing the file structure or inserting unwanted data.
- Hardware Issues: Bad sectors on hard drives or faulty memory cards can cause problems during the read or write processes, leading to image corruption or distortion.
- File Format Conversion: Converting JPEG images to other file formats or compressing them multiple times introduces artifacts and compromises the file structure, which eventually causes file corruption.
- External Factors: Physical damage to storage media due to extreme environmental conditions (like extreme heat or moisture) can cause data corruption affecting the JPEG files stored on your devices.
Quick JPEG Repair Methods to Enhance Image Quality
Now that you are familiar with the causes of distorted JPEG image quality, it’s time to apply proper JPEG repair methods to fix them. To repair your damaged image files, you can apply any method among the following 5 best ways to improve JPEG image quality:
Method 01: Save Image in Lossless Format
While JPEG is a lossy compression format, you can save your images in lossless formats like PNG or TIFF during the editing process to preserve image quality. These formats don’t compress image data, and thus maintain better quality until the final export.
Method 02: Proper Exposure
It is important to maintain proper exposure while capturing images on any device. Make sure that the image is neither too bright nor too dark. Maintaining proper exposure helps preserve details in highlights and shadows.
Method 03: Use Paint to Enhance Image Quality
Before you dive into a technical method to restore original image quality, let’s start with the basic one. You can use Windows’ built-in Paint tool to enhance your image quality. Paint comes with several options to resize, rotate, and flip the JPEG images, which eventually helps to improve the quality of your pictures. You can even try the Edit with Paint 3D option, which allows you to add effects to your images.
Let’s check how to improve JPEG image quality by making it sharper in the Windows Paint tool:
- Launch the Paint tool on your device.
- Navigate to File > Open and select the image file that you need to repair.
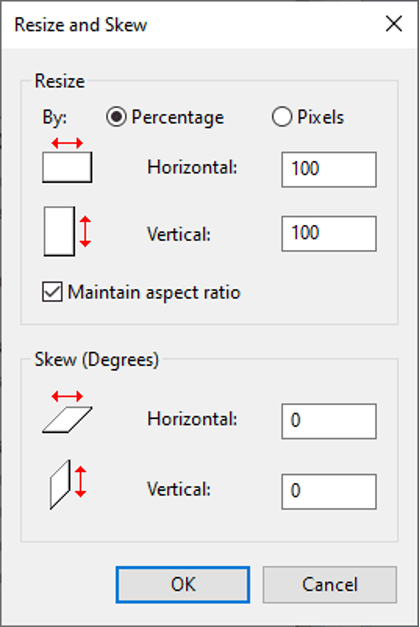
- Go to the Home tab, and click Resize to change the resolution of your image.
- In the Resize and Skew image that appears on the screen, enter a lower version of the image and click OK.
- Lastly, go to File > Save As, specify the file name that you need to save your image, and then click Save.
Method 04: Enrich JPEG Photos Using Photoshop
Another best way to improve JPEG image quality is by using Photoshop software. You can use Photoshop CC software to increase photo resolution without losing quality. All you have to do is:
- Launch the Photoshop CC tool on your Windows PC and open the image you need to repair.
- Navigate to Edit > Preferences, and select Technology Preferences.
- Now, select the “Enable Preserve Details 2.0 Upscale” checkbox and click OK.

- Go to Image > Image Size and then resize your image. Also, check that the Resample checkbox is selected.
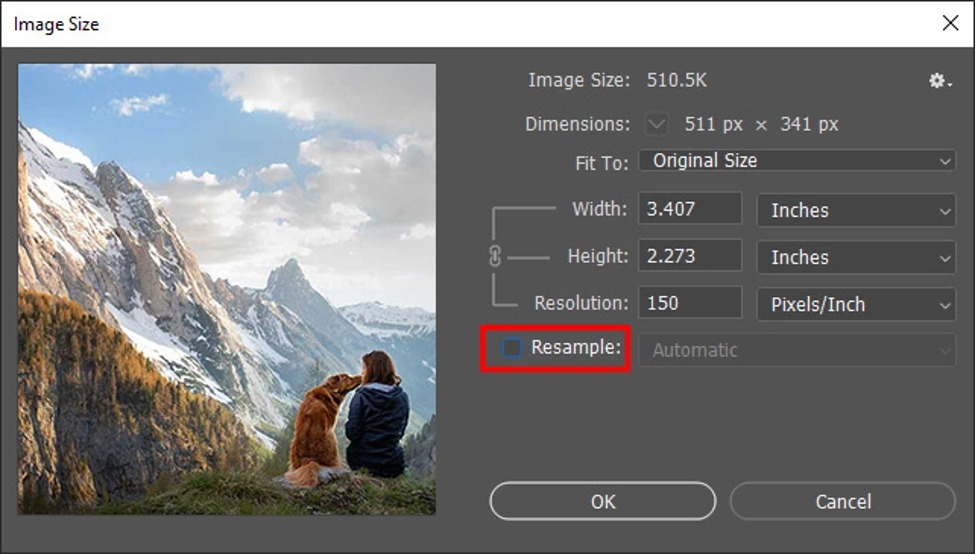
- Change the dimensions of your image (around 200%), and click Automatic next to the Resample checkbox.
- Select the “Preserve details 2.0” option and click OK to close the dialogue box.
- Lastly, save your image file and check if its quality is improved.
Method 05: Use Stellar Repair for Photo Tool to Improve Image Quality
If the above methods fail to increase your image quality, you can use JPEG repair software to get the desired results. Stellar Repair for Photo is an amazing tool that helps to fix imperfections on JPEG files. This all-in-one image repairing tool offers various options and filters to improve sharpness, reduce noise, and adjust color balance.
Check the following steps to know how to improve JPEG image quality using the Stellar Repair for Photo tool:
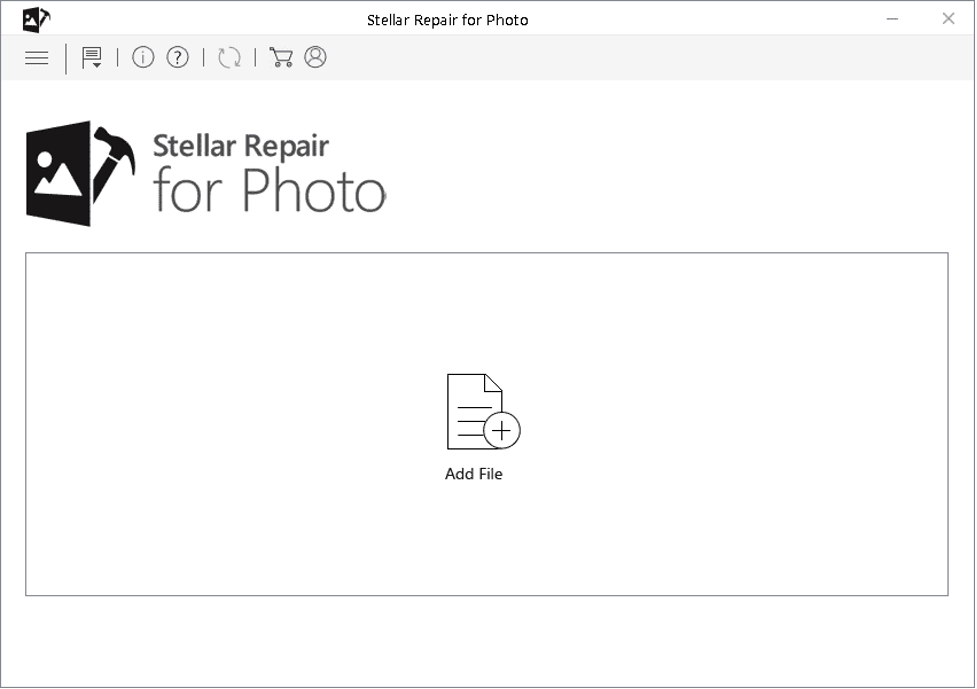
Step 1: Download and install the Stellar Repair for Photo tool on your device. Launch the software and from the homepage, click the Add File button to add your imperfect JPEG images.
Step 2: Select and upload the images you need to improve and click the Repair button to start the repairing process.
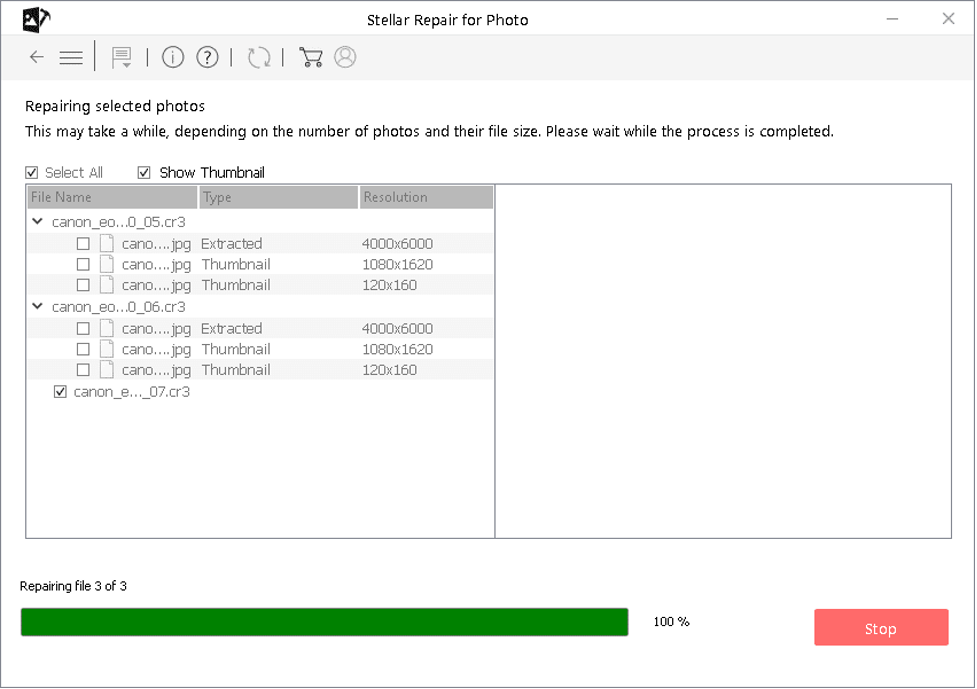
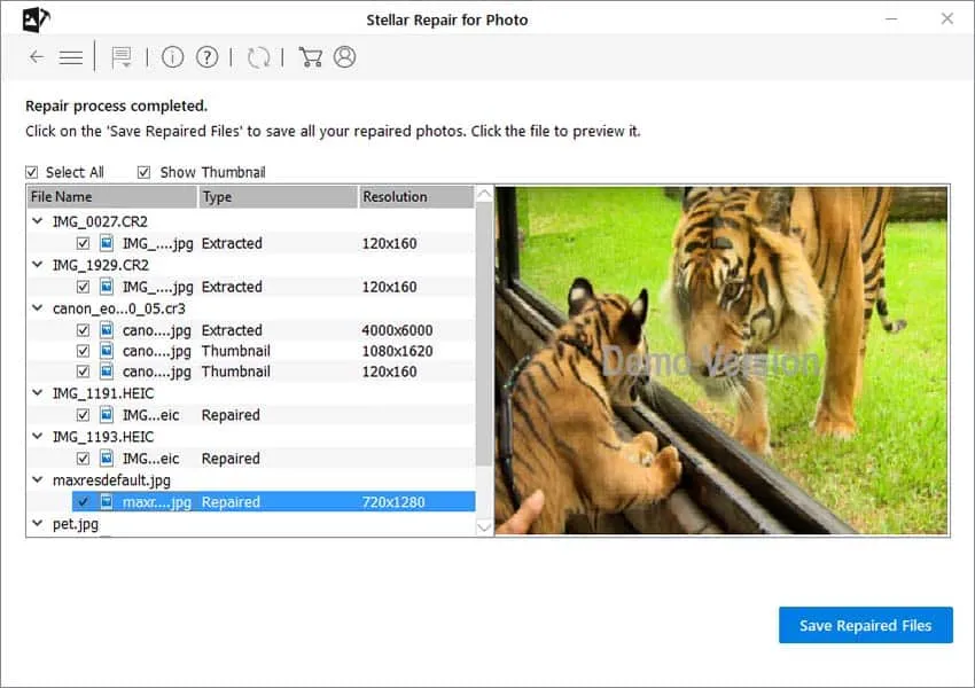
Step 3: After completion of the scanning process, preview the recoverable files and tap the Save Repaired Files button to save the improved JPEG files back to the device.
Conclusion
Improving JPEG image quality can be a challenging task, but by utilizing the above methods and techniques you can easily improve your image quality. Whatever is the cause for your low image quality, the aforementioned JPEG repair methods help to enhance its quality in no time. photo repair software like Stellar Repair for Photos can help you repair your distorted images due to any reason in a few simple clicks. Must give this amazing software a try!


